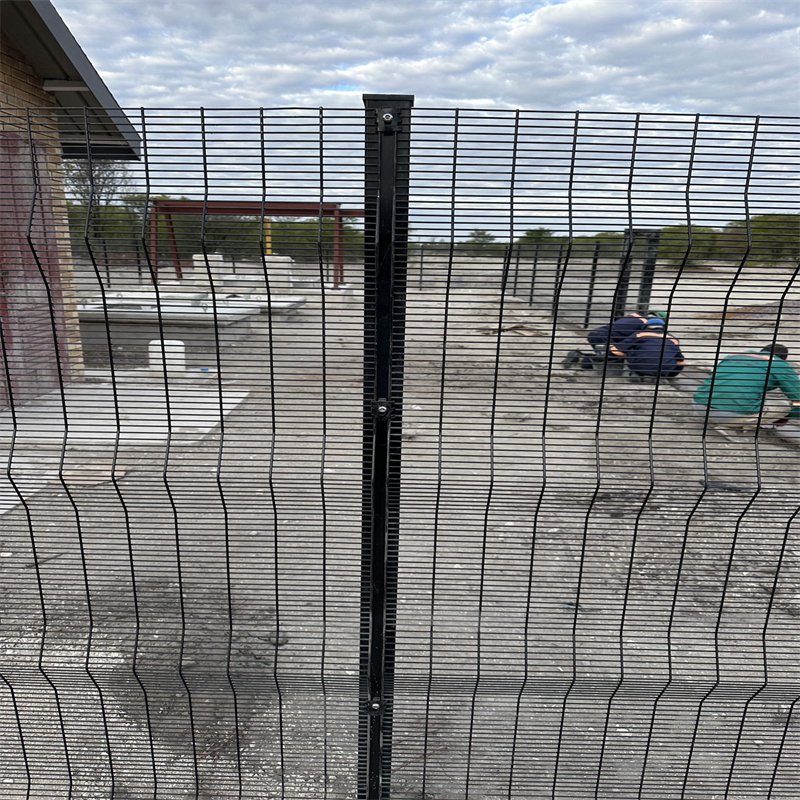
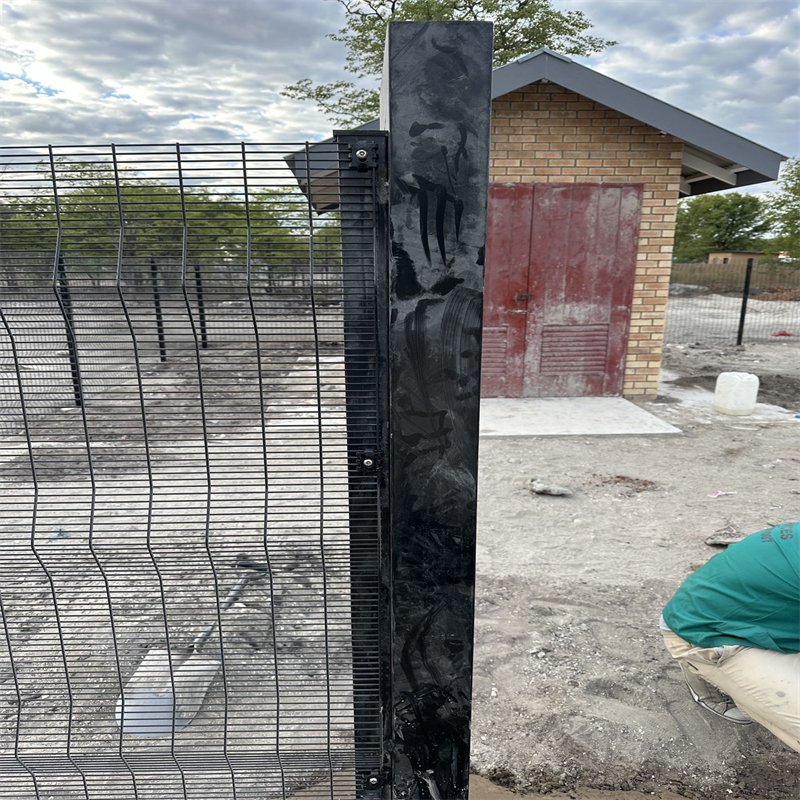
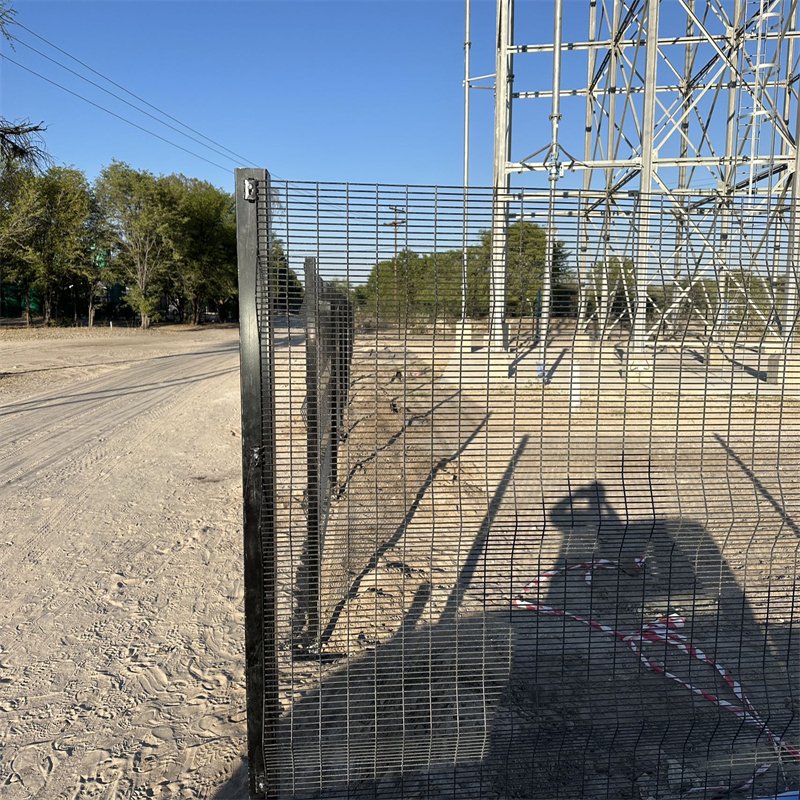
Clearvu fencing is renowned for its strength, durability, and security features. It provides a high level of protection while maintaining a sleek and modern appearance. This comprehensive guide will walk you through the installation steps, ensuring a secure and effective setup for your Clearvu fence.
Materials and Tools Required
Before you begin, gather the necessary materials and tools:
- Materials:
- Clearvu fence panels
- Fence posts (square, round, or IPE)
- Post caps
- Concrete mix
- Gravel
- Screws or bolts
- Tools:
- Measuring tape
- Level
- String line
- Shovel
- Post hole digger or auger
- Wrench
- Drill with masonry bit
- Protective gear (gloves, safety glasses)
Steps for Clearvu Fence Installation
-
Clearvu Fence Installation Planning and Preparation
- Measure the Perimeter: Accurately measure the perimeter of the area to be fenced to determine the number of panels and posts required.
- Mark the Post Locations: Use stakes and a string line to mark the locations for the fence posts. Ensure the line is straight and the posts are evenly spaced.
- Check for Utilities: Identify and mark the location of underground utilities to avoid damaging them during digging.
-
Digging Post Holes
- Determine Hole Depth and Width: Post holes should be at least 600mm deep and 300mm in diameter. This depth ensures stability.
- Dig the Holes: Use a post hole digger or auger to dig the holes. Ensure the holes are straight and consistent in depth.
- Add Gravel: Place a layer of gravel at the bottom of each hole for drainage. This prevents water accumulation around the posts.
-
Setting the Posts
- Position the Posts: Place the posts in the holes, ensuring they are level and plumb. Use a level to check the alignment.
- Pour Concrete: Mix the concrete according to the manufacturer’s instructions. Pour it into the holes around the posts, ensuring it fills all gaps.
- Allow to Set: Let the concrete set for at least 24 hours to ensure the posts are securely anchored.
-
Clearvu Fence Installation Attaching Fence Panels
- Align the First Panel: Position the first Clearvu fence panel between two posts. Ensure it is level and correctly aligned.
- Secure the Panel: Attach the panel to the posts using bolts or screws. Tighten the fasteners securely but avoid over-tightening, which could damage the panel.
- Continue with Remaining Panels: Repeat the process for the remaining panels. Ensure each panel is level and aligned with the previous one.
-
Clearvu Fence Installation -Installing Post Caps
- Place Post Caps: Install post caps on top of each fence post to prevent water ingress and improve the fence’s appearance.
- Secure the Caps: Use adhesive or screws to secure the caps, ensuring they are firmly in place and tamper-resistant.
-
Final Inspection
- Check Stability and Alignment: Inspect the entire fence for stability and proper alignment. Ensure all posts and panels are securely fastened.
- Tighten Fasteners: Check and tighten all bolts and screws to ensure the fence is secure.
- Make Adjustments: Adjust any panels or posts that are not perfectly aligned.
-
Clearvu Fence Installation final Clean-Up
- Remove Debris: Clear the installation area of any debris, including excess concrete and packaging materials.
- Inspect the Area: Ensure the fence and surrounding area are clean and tidy.
Additional Tips for a Successful Installation
- Follow Local Regulations: Check local building codes and regulations to ensure compliance. Obtain any necessary permits before starting the installation.
- Accurate Measurements: Double-check measurements to avoid misalignment and ensure a professional finish.
- Safety First: Wear protective gear and follow safety guidelines throughout the installation process.
- Quality Materials: Use high-quality materials to ensure the fence’s durability and longevity.
- Professional Help: If you’re not confident in your DIY skills, consider hiring professional installers to ensure the job is done correctly.
Specifications
- Panel Dimensions: 3305mm wide x 2400mm high, galvanized wire with aperture size of 76.2mm x 12.7mm.
- Panel Formation: Reinforced with 4 x 50mm deep 'V' formation horizontal recessed bands, 2 x 70° flanges along the sides, and 1 x 30° flange along the toe and top.
- Coating: Mesh galvanized, then marine fusion bond coated.
- Post Details: Cochrane taper locking post, sealed with UV steel cap, galvanized, then marine fusion bond coated.
- Clamps: 8 x single bolt comb clamps and 8 x double bolt comb clamps, galvanized, then marine fusion bond coated.
- Optional Topping: Electric wire, anti-scale features like shark tooth spikes, castle spikes, spear spikes, ripper blade coil, or ribbon strip.
Detailed Instructions for Specific Parts
- Clearvu Fence Installation Post Installation
- Posts must be installed at intervals of 3390mm center to center.
- Foundation for posts should be 600mm deep and 400mm wide.
- Use 20Mpa concrete and ensure it cures properly for stability.
- Clearvu Fence Installation Panel Fixation
- Panels should be affixed to posts using 8 x double bolt clamps and 8 x single comb clamps with 24 x anti-vandal bolts.
- Ensure the flush post and panel finish to prevent climbing aids.
- Clearvu Fence Installation Topping
- Electric Wire Fence: Install 700mm high electric wire fence on top of the posts.
- Shark Tooth Spikes: Fasten 100mm high shark tooth spikes to the panel edges at 150mm intervals.
- Castle Spikes: Install 100mm high castle spikes similarly.
- Spear Spikes: Attach 100mm high spear spikes at 150mm intervals.
- Ripper Blade Coil: Fix a 730mm high ripper blade coil to the post.
- Ribbon Strip: Install a 700mm high ribbon strip on the post.
Conclusion Clearvu Fence Installation
Clearvu fencing is an excellent choice for enhancing the security and appearance of your property. By following these detailed installation steps, you can ensure a sturdy and reliable fence that offers maximum protection. Whether you’re a DIY enthusiast or prefer professional installation, proper planning and execution are key to a successful Clearvu fence installation. For further assistance and professional installation services, contact local Clearvu fence suppliers and security experts.


